Goal: to make a fairly inexpensive, lightweight and highly porous decorative base rocks. Practical and less impacting on our remaining reefs.
PROS:
Sterile, no parasites or pests
Fairly inexpensive and easy to do
Highly customizable/tweakable
Super lightweight and porous, depending on the ratio
CONS:
Will take a long time to cure. Curing has 2 phases.
Devoid of any beneficial microorganisms
Gray colored
(YES, BUYING LIVEROCKS IS SEVERELY DAMAGING OUR REEFS. PERIOD. It is not a sustainable, ecologically-sound practice. If you buy lots of them and do not use them for a long time, or just dump them elsewhere, you are contributing to the problem.
Materials needed:
1 bag portland cement (you will only have to use half of it, or even less depending on your ratio)
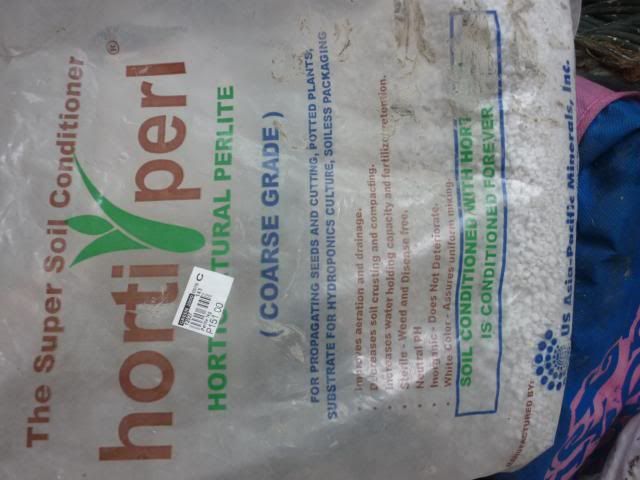
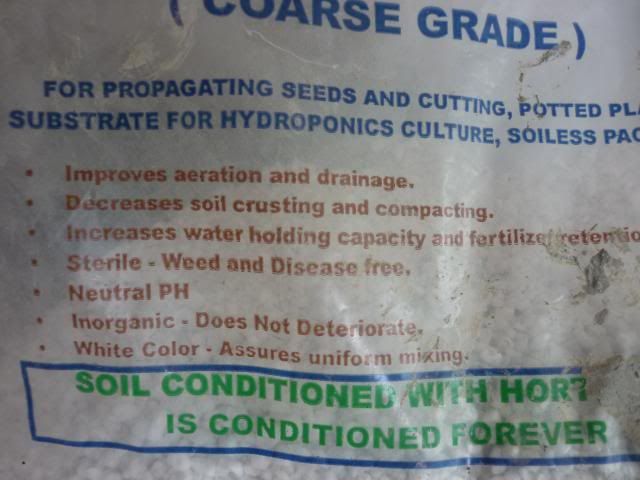
2-3 bags of perlite (can be bought at Manila Seedling Bank) perlite is very porous, super lightweight and inert. It will also add to your rocks' strength
1-2 bags of oyster grit, preferably sieved (can be bought at your local poultry/agri supply. Thanks for the tip, roy_gt)
Some spare dried rocks or former liverocks
Water
Mixing station and common cement tools like spatula
Patience, and lots of it
Pics of perlite:
from google images:

Mix aggregates (oyster grit and perlite) and cement, make a small mound then form a well and pour a bit of water in the center.
Mix well and ensure mixture is uniform. Do not over or under water the mix! A crumby, fairly wet mix is good enough.
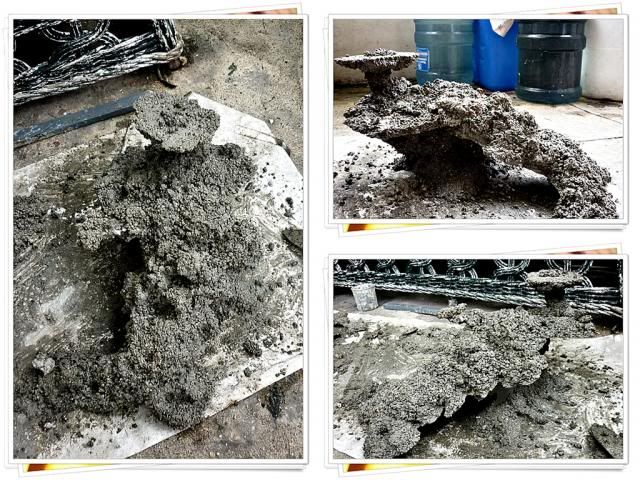
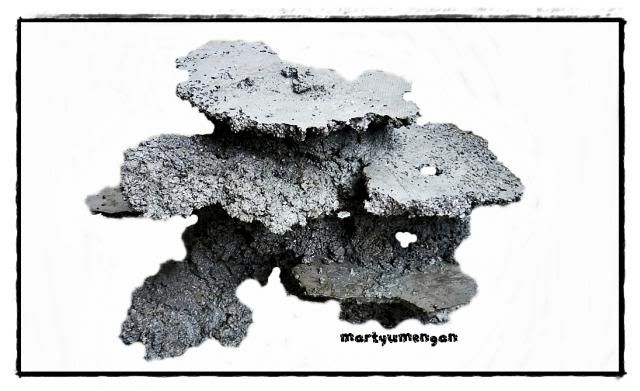
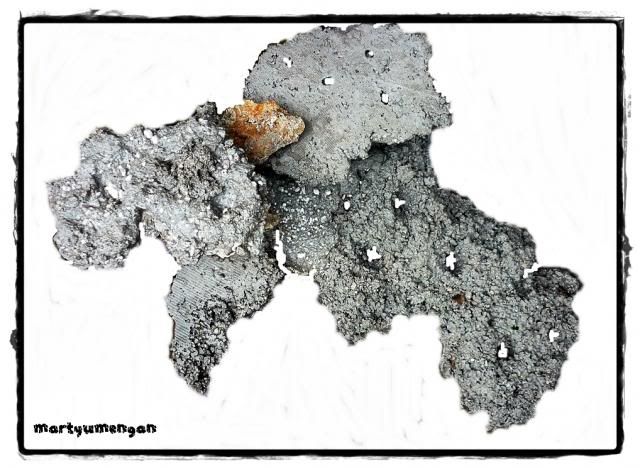
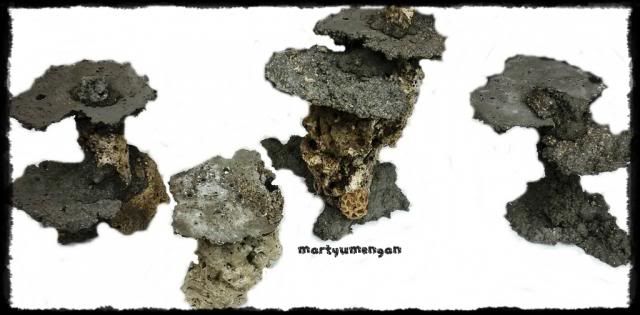
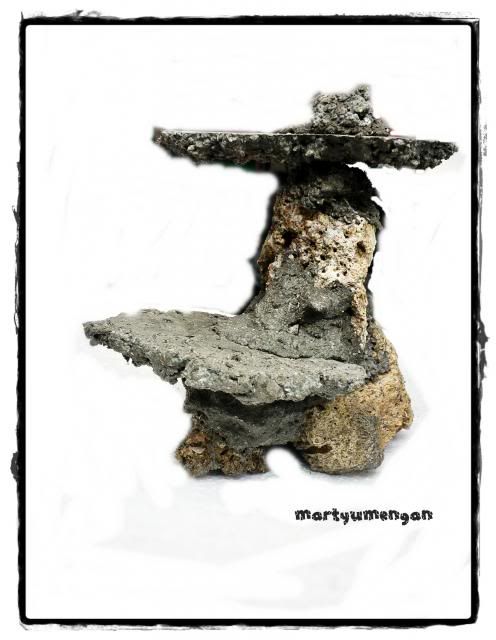
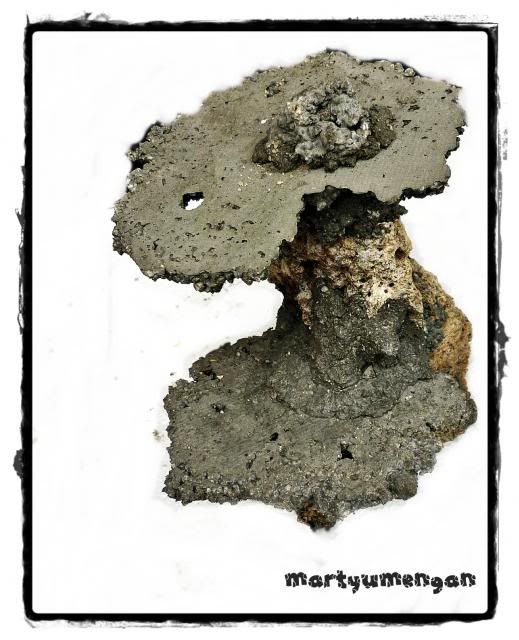
Form your rocks.
Let sit in a dark area for a week, keeping it moist frequently.

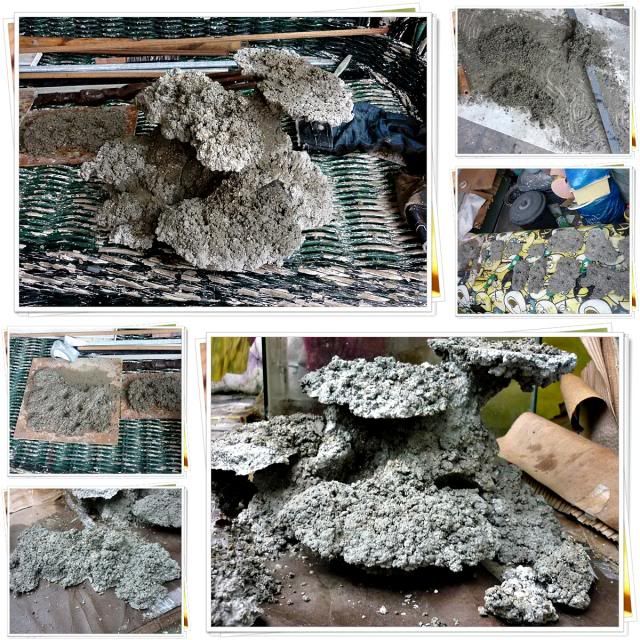
After a week, let sit in the sun covered with clear plastic wrap while ensuring all rocks DO NOT DRY OUT. Drying will weaken your rocks! Keep them moist all the time! Again, never let them dry out!
Do this for 2 weeks to a month. This is the first phase of curing. The first phase of curing can be accelerated by steaming the rocks for 4-12 hours.
Example of steam curing:
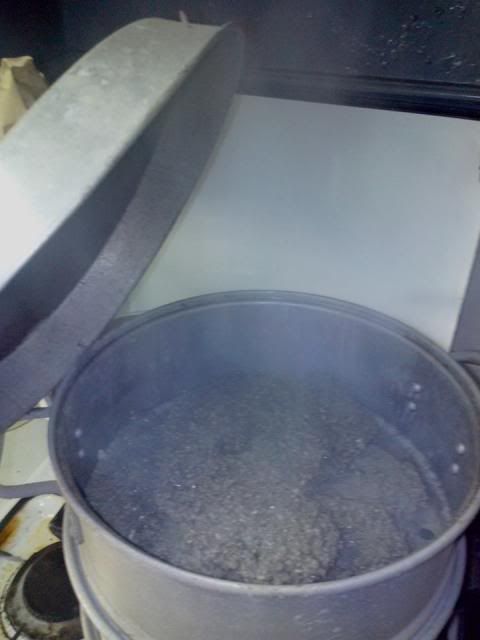
Steam curing for a few hours will be equivalent to almost a month's worth of air curing.
Final touchups of the DIY Rocks:
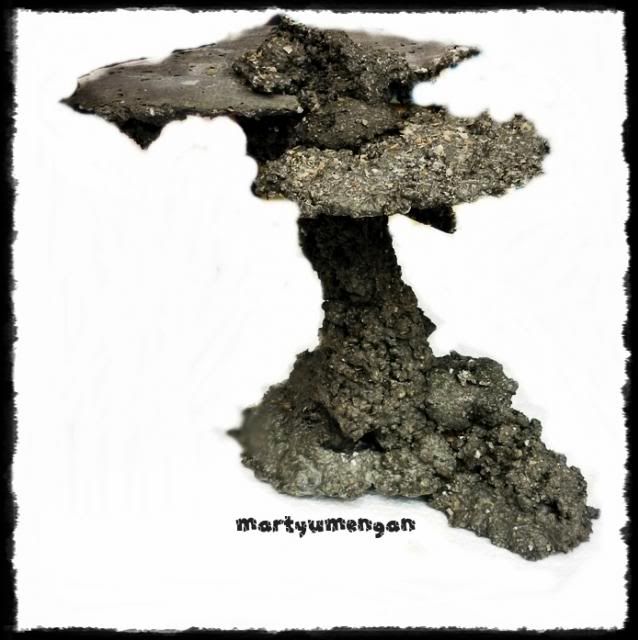
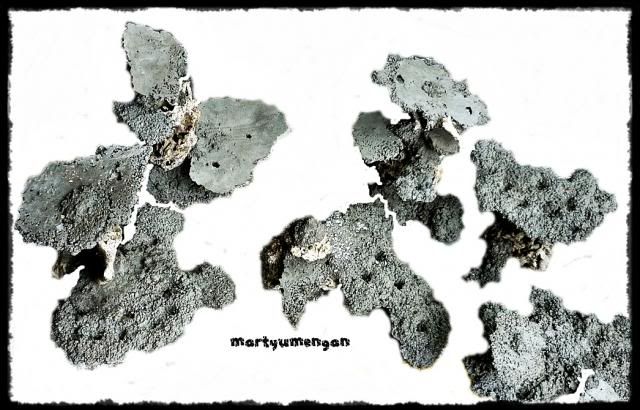

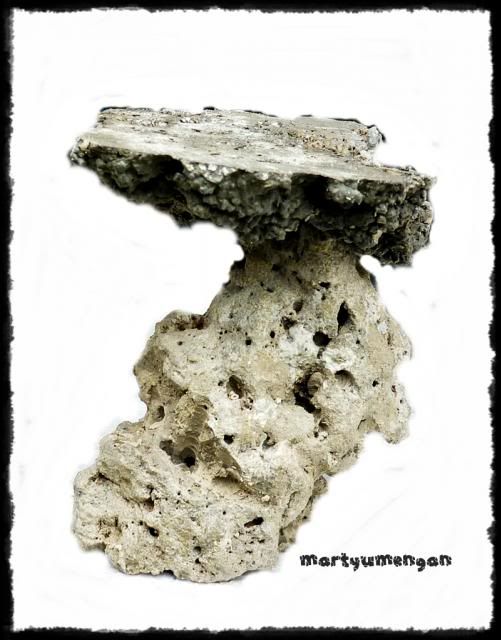
After doing so, fill a large container filled with clean, freshwater and soak all the rocks until the pH stabilizes. This is the second phase of curing. Frequent water changes will hasten the second phase of curing. This may last for a month to almost half a year, depending on the ratio of cement:aggregates and depending on the thickness. Do not rush this! This will make or break your entire system.
After the second phase of curing, test pH for the last time. Soak the rocks again this time in old tank water and see if the rocks still leach out too much hydroxides (high pH). If it does, you still need to soak them more in FW. If not, you may use the rocks.
Good ratio of mix: 1:1.5:1 or 1:1.5:1.5 Cement:Oyster Grit:Perlite
caution: wear gloves. ang daming sugat ng kamay ko dahil di ako nagsuot nito. caustic ang cement, at matalim ang oyster grit.
some use acetic acid or muriatic acid to hasten the second cure. acid wash during the second stage of curing may weaken the rocks, use sparingly if ever you must use it.
More info here:
http://delreefclub.org/index.php?option ... 7&Itemid=1
The thread that started it all:
http://reefcentral.com/forums/showthread.php?t=807988
Credits to grupong maalat and the alat boys: lukeskylurker, username12345, roy_gt, calvin_91993, alvinbam sama na rin natin yung comedy support ni Leica at trowa lol
Cheers!